
You’ve squeezed out bright yellow and deep blue. You stir them together for a lively green. Instead, you get a dull, grayish mess that kills the mood. Muddy colors happen when paints lose their punch and turn lifeless brown or gray. This frustrates beginners and pros alike in oils, acrylics, or watercolors.
The good news? You can fix it with simple habits. Overmixing, bad combos, and dirty tools cause most problems. This guide shows you proven steps to mix clean, vibrant colors every time. You’ll spot pitfalls, prep smart, and build techniques that work right away.
Let’s start by naming the usual suspects.
Spot the Common Culprits Behind Muddy Mixes
Muddy mixes sneak up fast. You think you’re blending harmony. Then, vibrancy vanishes into gray sludge. Common errors include over-stirring, piling on too many colors, and clashing opposites in equal shares. Paints act like real pigments with quirks. Understand these, and you dodge the mess.
Artists often chase perfect greens or purples. They grab every tube in sight. That overloads the blend. Pigments fight each other. The result? Neutralized tones that look flat. For example, add white too soon, and brightness fades. Recent tips stress artist-grade paints to keep strength high.
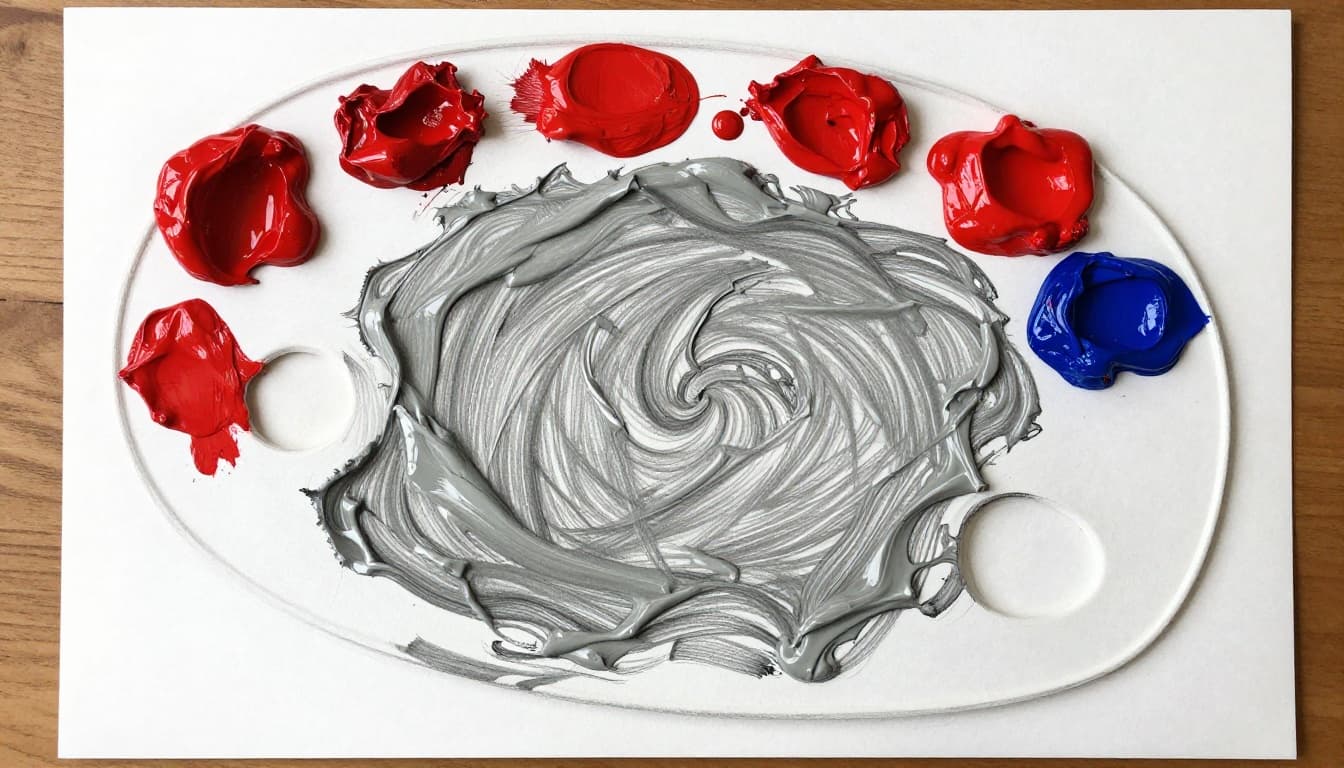
Overmixing grinds pigments into dull paste. Fresh paints shine with light reflection. Stir too long, and particles break down. The mix loses sparkle. Always blend just until smooth on your palette. Test with a brush stroke. If it dulls on canvas, stop earlier next time.
How Overmixing Steals Your Colors’ Spark
You load your brush with fresh crimson and cobalt. One quick swipe blends them. Perfect purple appears. Keep stirring for evenness, however. The sheen dies. Pigments in oils or acrylics shear under pressure. They scatter light poorly after that.
In watercolors, over-wetting does the same. Drops merge into soup. Limit strokes to essentials. Palette knives work better for control. They fold paint without crushing it. Pros mix in spots, not big puddles. This keeps energy alive.
The Trap of Complementary Color Clashes
Opposites attract in theory. Red and green sit across the wheel. Mix equal parts, though. You bake brown mud. Blue and orange do the same. These pairs cancel each other out. They form grays or neutrals fast.
Use tiny touches for shadows instead. A hint of complement adds depth without killing hue. Check color mixing problems and fixes for examples. Painters learn this through trial. One drop shifts tone clean. Equal scoops ruin it every time.
Prepare Your Painting Space for Crystal Clear Blends
Setup matters more than you think. Dirty residue from last session taints new mixes. Leftover bits react and gray out colors. Start fresh each time. Limit your palette to five or six tubes. Pick known winners like cadmium yellow, quinacridone magenta, and phthalo blue.
Quality paints resist mud better. Student grades weaken quick. Artist lines hold saturation. Add darks drop by drop to lights. This prevents overload. Clean spaces let techniques shine.
A top-down view helps you see organization. Keep piles separate. Wipe between uses.
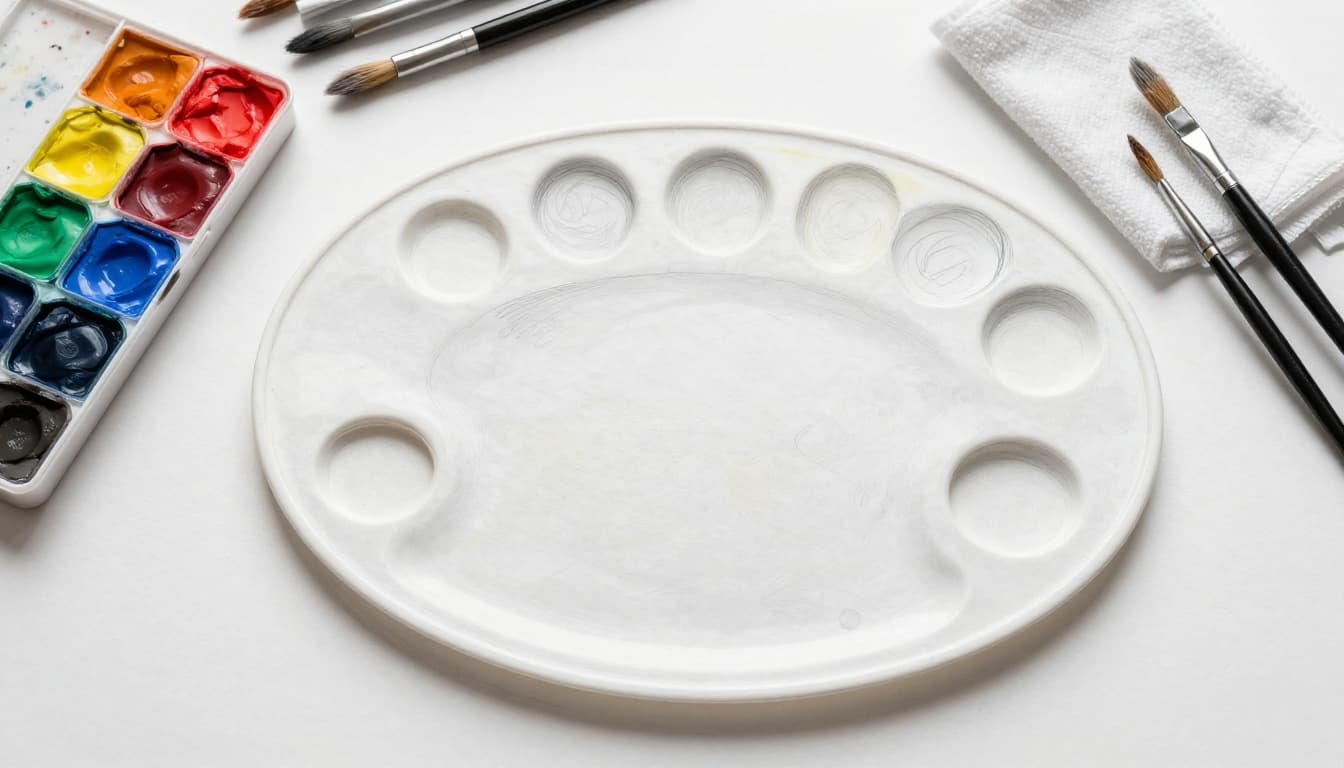
Clean Tools Mean Pure Colors Every Time
Residue builds fast. Old green smears into your new red. Mud forms before you start.
Follow these steps:
- Scrape your palette smooth. Use a knife or putty tool.
- Wipe brushes with solvent for oils. Soap works for acrylics and watercolors.
- Rinse in clean water. Two jars help: one for wash, one for final rinse.
- Dry on a rag. No drips carry contamination.
Do this before every session. It takes two minutes. Your blends stay true. In short, pure starts yield pure results.
Master Simple Rules for Vibrant Color Mixing
Now you know causes and prep. Time for mixing magic. Stick to two colors at once. Pick pairs with matching leans, like warm to warm. That builds bright results. Avoid big complements. Use layers for contrast instead.
Work wet-on-dry most times. Blends stay separate and crisp. For grays, mix a neutral base first: 60% blue, 30% red, touch of yellow. Tint shadows from there. Skin tones? Warm yellow plus magenta, blue speck for life.
Watercolor folks drop colors on paper. They mingle soft without full mix. Acrylics need extra dark since they lighten dry. Oils forgive slow blends on canvas.
Practice charts build skill. Swatch primaries. Note outcomes. Brands vary, so test yours.

Pick the Right Color Biases for Popping Results
Every paint leans warm or cool. Warm yellow tilts orange. Cool blue heads green. Mix mismatches, and you get dingy. Pair similars for punch.
See color bias mixing tips. Warm red plus warm yellow makes vivid orange. Cool magenta and cool yellow yield clean peach. Test on scrap. Label your tubes by bias. It speeds choices.
Chart it out:
| Base Pair | Bias Match | Result |
|---|---|---|
| Warm yellow + warm blue | Both warm-leaning | Bright lime green |
| Cool red + cool blue | Both cool-leaning | Rich violet |
| Mismatch example | Warm + cool | Dull olive |
This table shows why bias rules. Use it as a quick guide. Results pop every time.
Layer Smart to Keep Mixes Fresh and Bright
Direct mixes limit mud. Layers add depth safe. Let base dry. Glaze thin top coats. Colors shift without blending full.
Wet-on-wet risks soup. Save it for soft edges only. Glazing builds glow. Think sunset skies: base orange, glaze pink over. No mud, all fire.
Benefits stack up. You control intensity. Fixes come easy too.
Rescue Muddy Spots and Lock in Pro Habits
Mud happened despite care. Don’t panic. Scrape it off. Let dry. Glaze pure hue over. Thin layers lift without fight.
Build habits next. Make color charts weekly. Test your palette limits. Note brand quirks. Practice three primaries only. Intuition grows fast.
Bright paintings follow. Your work gains pro polish.

Quick Fixes to Salvage Your Painting
Act fast on mud:
- Scrape excess with knife. Don’t dig canvas.
- Let area dry full.
- Mix clean tint. Glaze thin.
- Build layers slow.
For big spots, neutral glaze evens it. See watercolor mud fixes. Pros swear by this.
Lock habits in. Chart mixes. Limit palettes. Practice daily. Mud fades to memory.
Clean setups, smart pairs, and light touches keep your colors alive. Try one tip on your next piece. Brighter art awaits.
Share your worst muddy mix story in comments. What fixed it? Subscribe for more painting wins. Turn frustration into fresh strokes today.