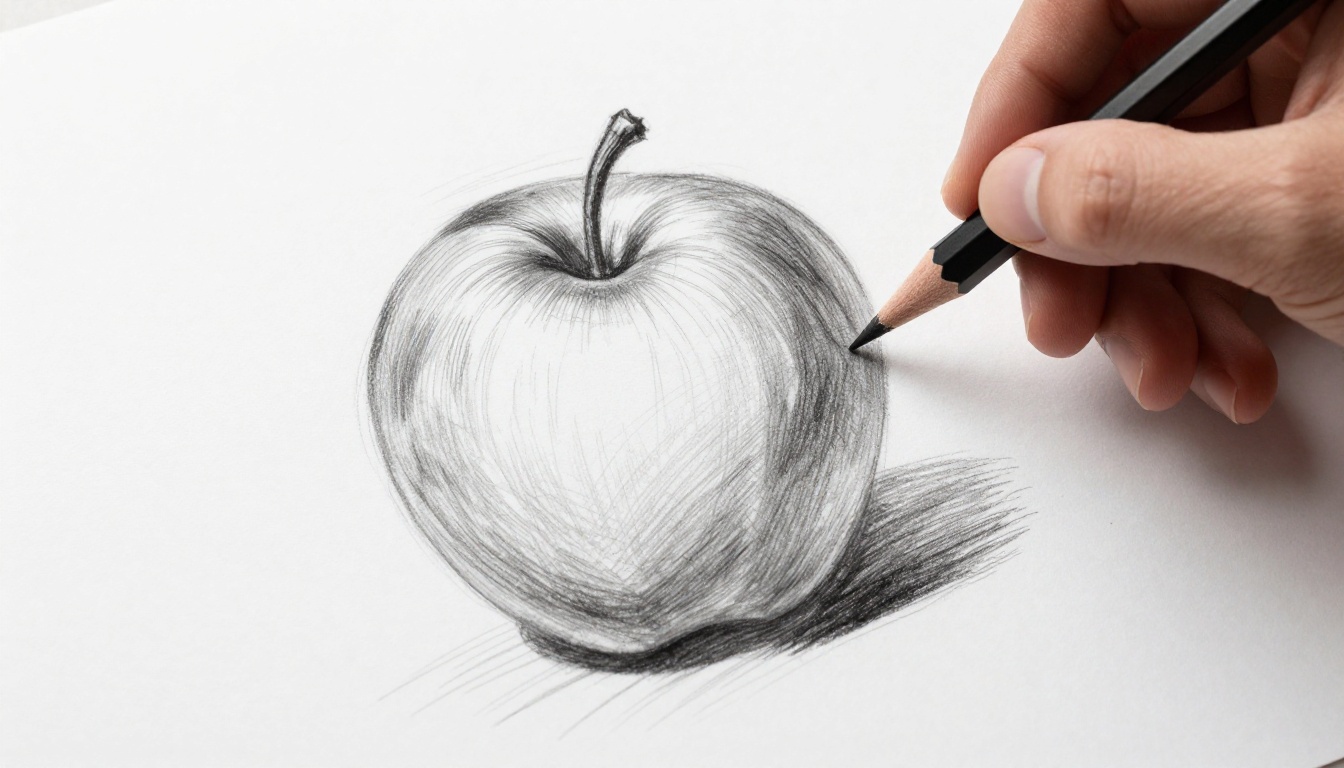
You grab your pencil to shade a quick sketch of an apple. Smudges ruin the clean lines. Shadows look flat. Frustrating, right? Hatching and cross-hatching in drawing fix that. Hatching uses parallel lines to build light and shadow. Cross-hatching layers angled lines over them for deeper tones.
These techniques create three-dimensional effects with just lines. No blending or erasing required. Artists rely on them for ink work or graphite sketches. They add texture too, like rough fur or shiny metal.
In this post, you’ll learn the basics of each method. Follow step-by-step guides. Pick up pro tips and spot common mistakes. Explore their history and modern uses. By the end, you’ll shade like a pro. Beginners can start today with simple tools.
Breaking Down Hatching: How Lines Create Shadows and Texture
Hatching starts simple. Draw parallel lines close together. They show value, from light to dark. Sparse lines suggest highlights. Dense lines build shadows. The lines fool your eye into seeing tone.
Pencils work well for this. So do pens and ink. Spacing controls the effect. Wide gaps keep areas light. Tight packs make them dark. Artists use hatching for flat surfaces or basic shading.
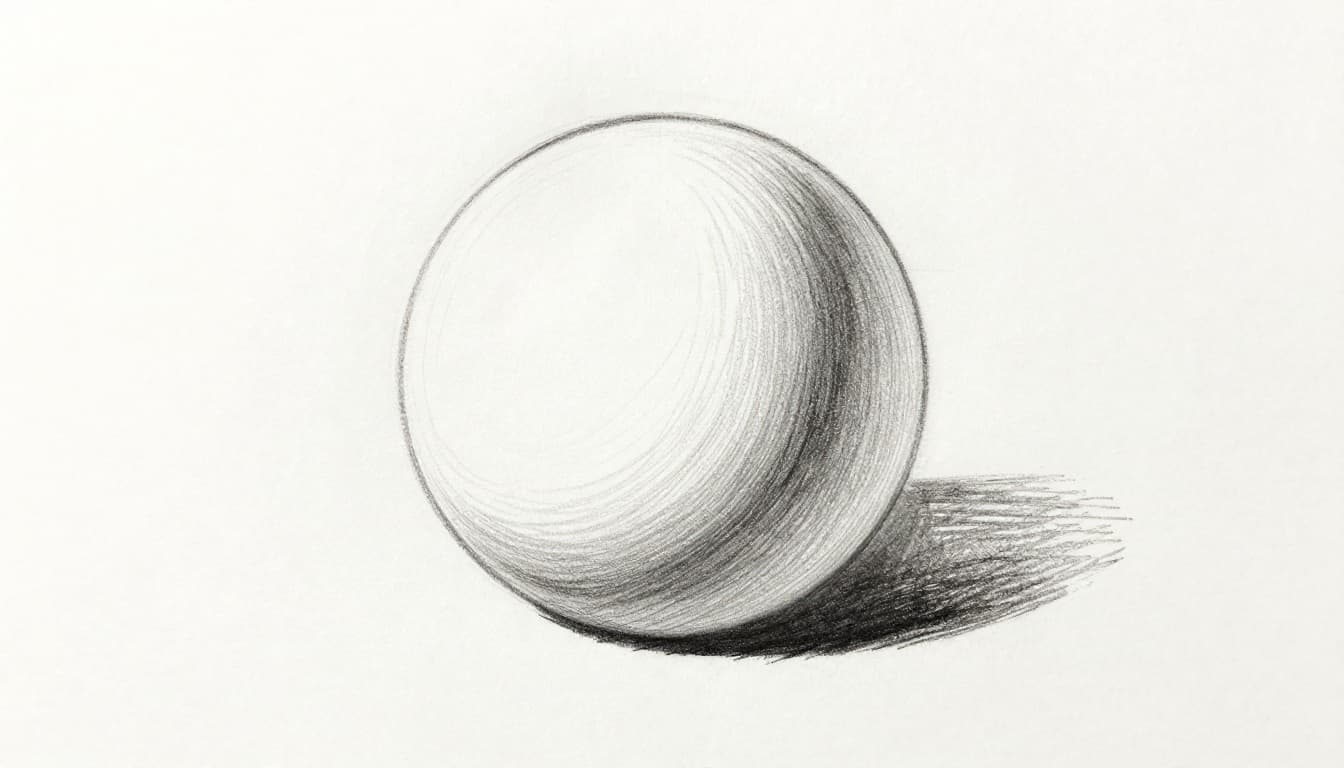
Think of a sphere under light. Lines curve around it. Or straight across for a cylinder. Hatching adds form without color. It suits textures too. Short, quick strokes mimic grass. Long ones show smooth cloth.
Light source matters. Place it top-left. Shadows fall right and bottom. Lines get thicker there. Practice helps you see this.
For more on these basics, check this guide to hatching techniques.
Pressure varies too. Light touch for mid-tones. Firmer for darks. Lines don’t overlap much in basic hatching. That keeps it clean.
Parallel Hatching vs. Contour Hatching: Which to Use When
Parallel hatching uses straight lines. It fits flat areas like clothing folds or walls. Beginners love it because lines stay even. No curves to worry about.
Contour hatching curves with the shape. Lines hug rounded forms. An apple gets realistic volume this way. Shadows feel natural.
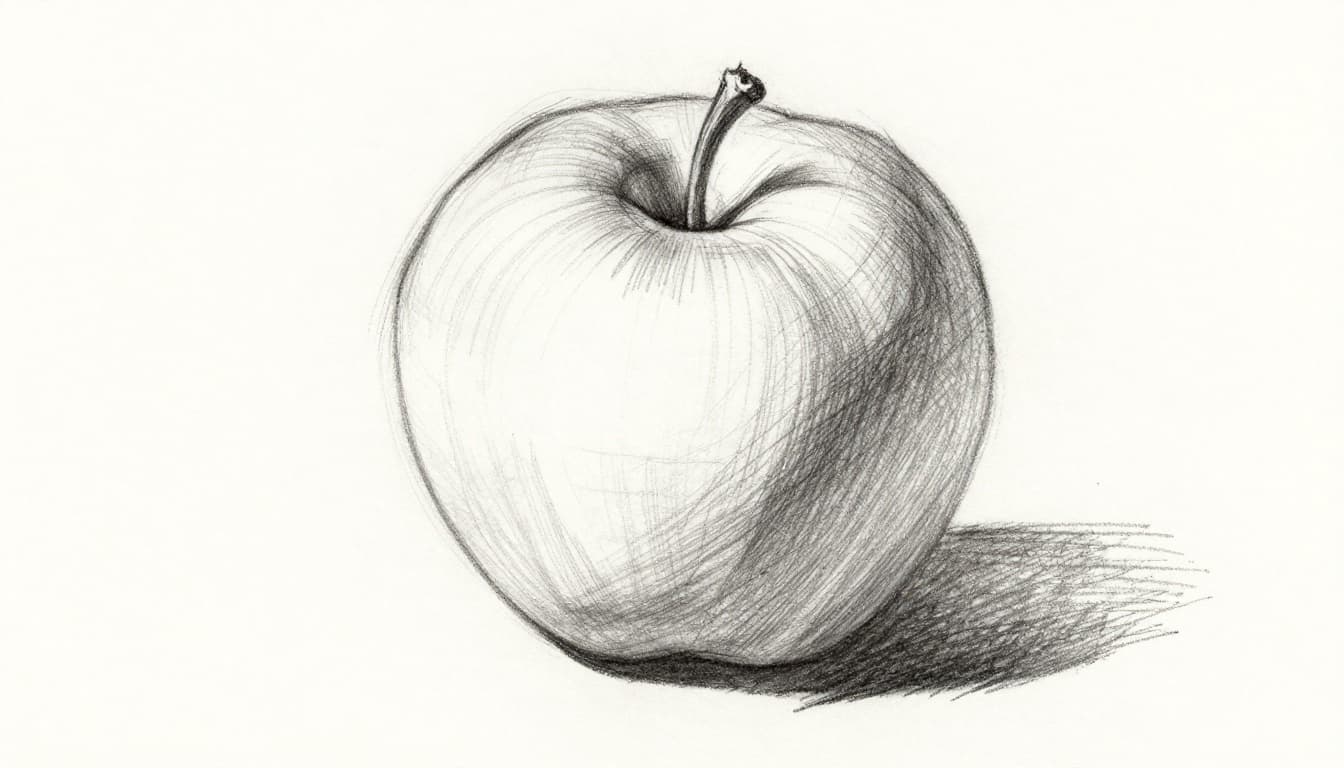
Parallel suits quick sketches. Contour boosts depth on faces or fruit. Vary spacing for smooth changes. Closer lines darken gradually.
Tools You Need to Start Hatching Right Now
Grab basics first. A 2H pencil draws light lines. A 2B handles darks. Fine-line pens, like 0.1mm, give crisp ink work.
Scrap paper lets you practice scales. Test line density there. No fancy gear needed.
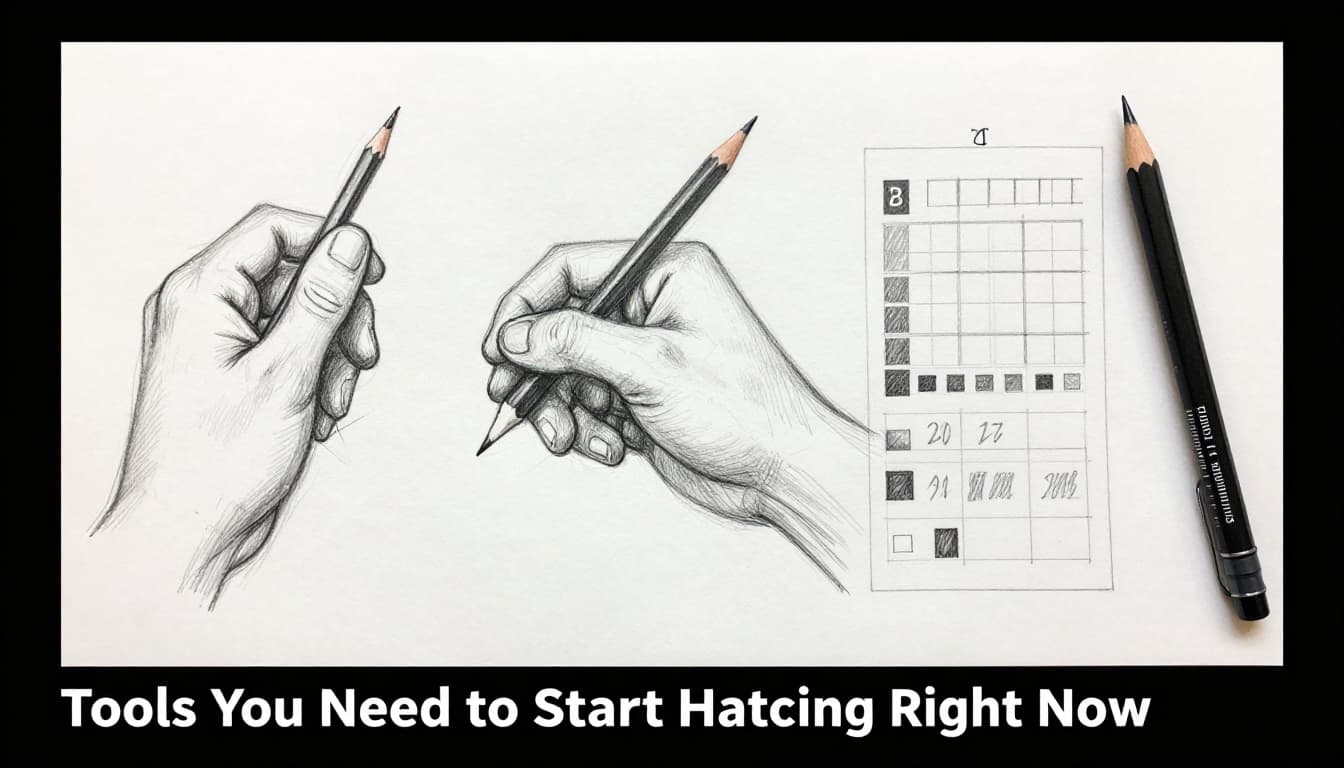
Grayscale pencils help too. They build value steps fast.
Level Up with Cross-Hatching: Layering for Richer, Darker Shades
Cross-hatching builds on hatching. Start with parallel lines in shadows. Add a second layer at an angle. About 90 degrees works best. This darkens areas quickly.
Layers create gradients. First pass stays light. Second adds depth. Fine lines blend smooth. Woven patterns suit fabric.
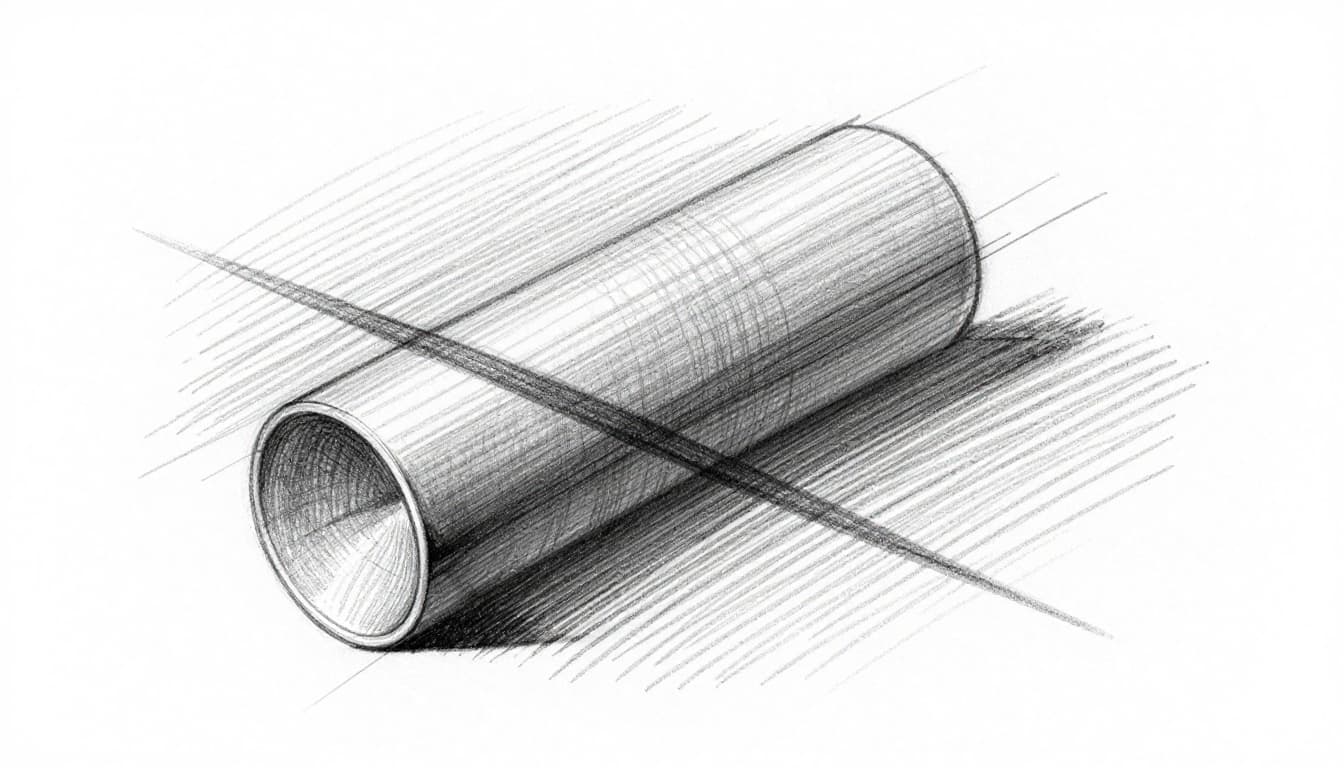
On a cylinder, horizontal lines form the base. Diagonals cross for shadow. Step back to check evenness.
Control pressure. Light strokes first. Build up slowly. This avoids mud. US artists now mix loose crosses for organic textures, like fur.
See this cross-hatching tutorial for beginners for examples.
The Step-by-Step Process to Nail Cross-Hatching
Follow these steps for solid results.
- Sketch lightly in pencil. Note your light source.
- Add parallel hatching in shadow zones. Keep lines even.
- Layer crossing lines at an angle. Use light pressure.
- Build more layers for deepest darks. Vary angles slightly.
- Step back often. Adjust spacing for balance.
- Erase sketch lines if needed.
Practice on scrap paper. Even lines come with time.
Pro Tips to Perfect Your Hatching Skills and Avoid Rookie Mistakes
Keep lines crisp. Vary length and thickness for interest. Follow contours on curves. Always build a value scale first.
Common errors hurt results. Uneven spacing looks patchy. Fix it by measuring gaps. Same line weight flattens forms; press harder in darks.
Overdo layers early, and it turns muddy. Start light. Ignore light source? Shades confuse. Pick one direction.
Use organic curves for nature. Straight lines fit machines.
Vary line direction slightly. It adds life without chaos.
Smart Tools and Trends for Hatching in 2026
Stick to pencils and pens traditionally. Digital shines now. Procreate brushes mimic hatching perfectly. Try free sets for iPad.
Trends favor texture mixes. Pair with stippling for skin. Loose lines trend for wildlife. Check Procreate brush trends.
Clip Studio Paint leads for comics. Tablets like iPad Pro pair well.
Hatching Through History and Where It Shines Today
Hatching dates back centuries. Engravers used it for tone in prints. Albrecht Dürer mastered cross-hatching in works like Veronica. The French term “hachure” stuck.
Etchings and woodcuts relied on lines. No color meant lines built everything. Learn more at Wikipedia’s hatching page.
Today, ink drawings thrive on it. Comics use hatching for speed. Colored pencils layer lines without blending. Pastels add texture to fur or fabric.
Ink pens demand it. No erasing possible. Everyday sketches gain depth fast. Modern artists weave it into prints for glow.
Turn Lines into Depth Today
Hatching builds tones with parallel lines. Cross-hatching layers angles for rich shadows. Steps guide you from sketch to finish. Tips fix patchy looks and flats.
Practice on spheres or fruit. Simple shapes teach fast. Grab your pencil now. Sketch that apple. Share results in comments.
Subscribe for more drawing tips. These skills turn flat lines into art. You can master them with steady practice.