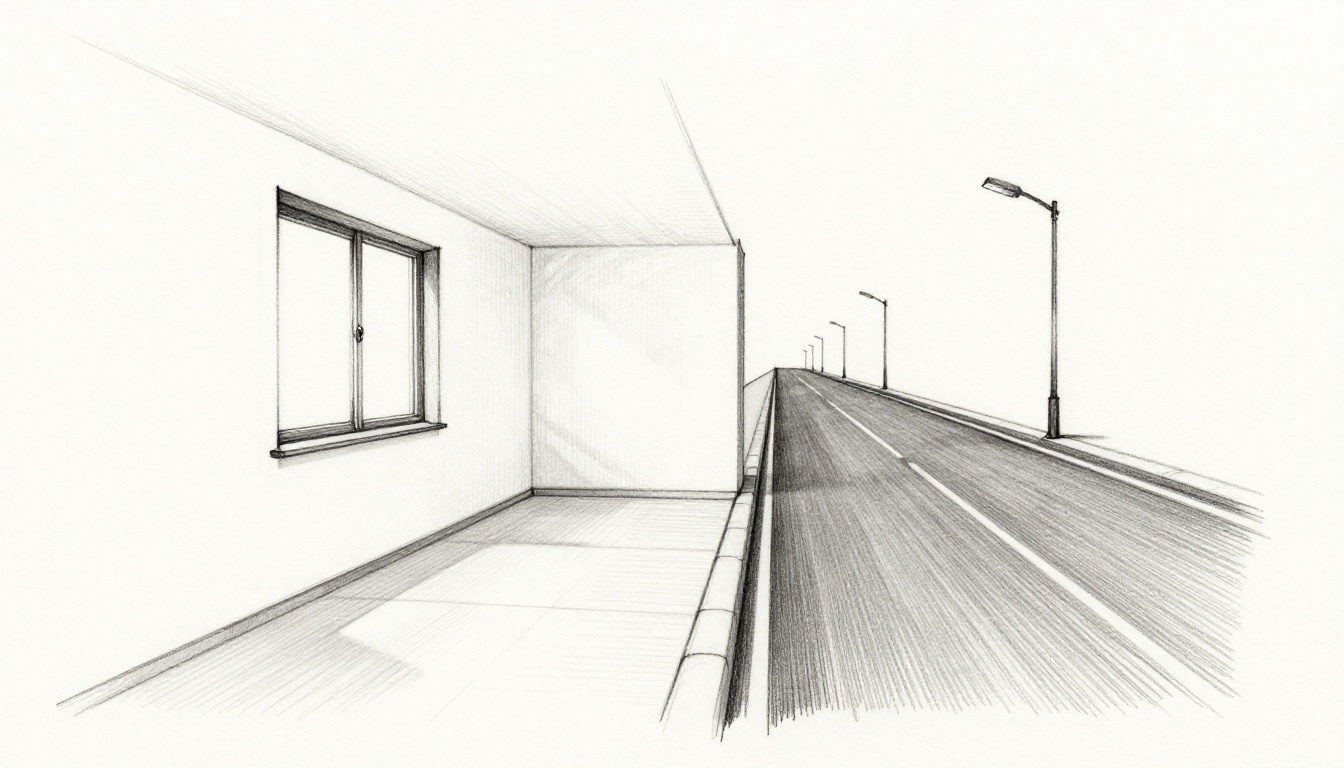
Ever notice how a straight road seems to shrink and meet at a tiny point far away? That effect fools your eye into seeing depth on a flat surface. One-point perspective captures this trick perfectly. It uses lines that converge at one spot, called the vanishing point, to make drawings look three-dimensional.
Beginners love it because you don’t need advanced skills. Just basic tools and a few steps turn simple shapes into realistic rooms or houses. You’ll build confidence fast. This post walks you through everything. First, gather supplies and set up your page. Then, draw a room in five easy steps. Next, tackle a house exterior. Finally, pick up pro tips to avoid mistakes. You’ll create drawings that wow your friends. Let’s get started with pencil in hand.
Grab Simple Supplies and Set Up Your Drawing Page
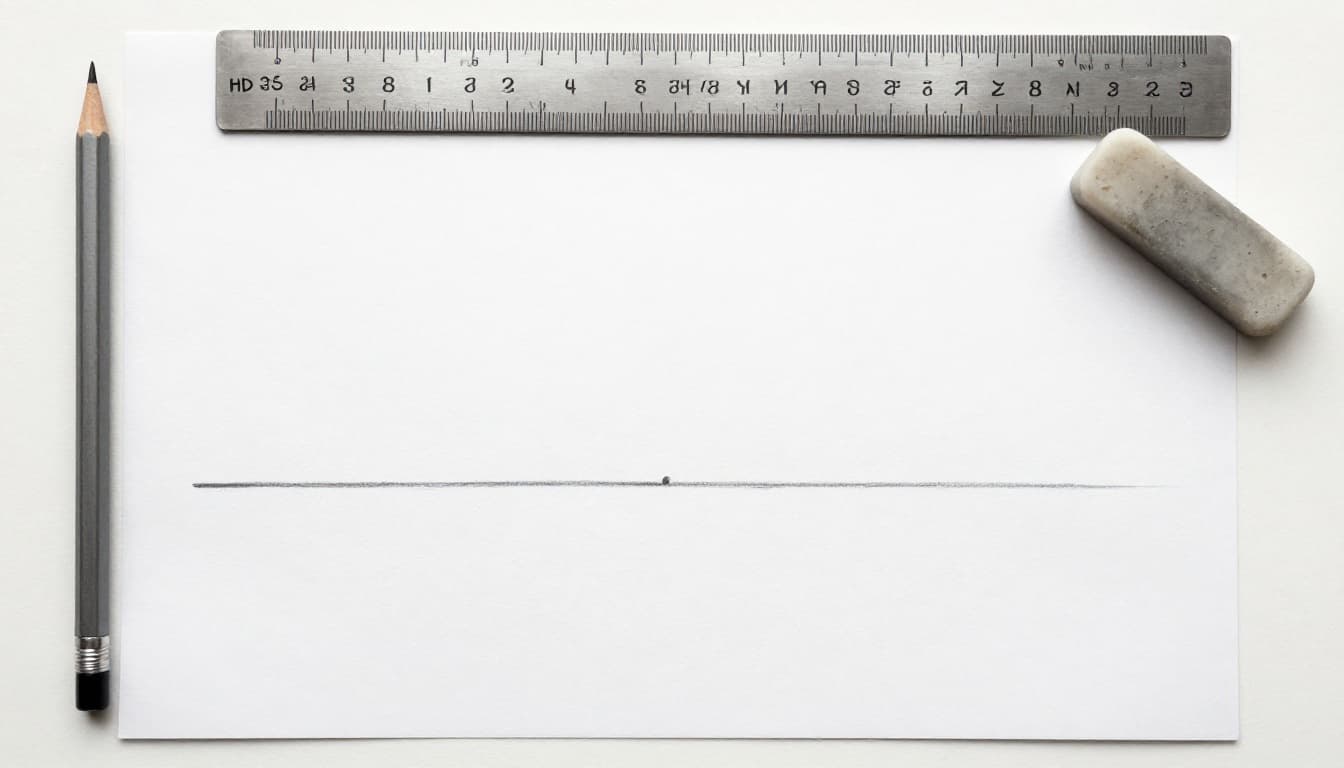
You need everyday items to begin. Grab plain paper, an HB or 2B pencil for light lines, a kneaded eraser, and a straight ruler. These keep things simple and precise. Graph paper helps for practice, but it’s optional. A fine-tip pen works for final outlines later.
The pencil lets you sketch faintly. You erase mistakes without damage. The kneaded eraser lifts lines gently, no smudges. Most importantly, the ruler draws straight orthogonal lines to the vanishing point. Without it, edges wobble and ruin depth.
Set up takes seconds. Draw a light horizon line across your page middle. This matches eye level, like the sea line at a beach. Place the vanishing point as a dot on that line, off-center to the right. Centered spots create dull views. Off-center adds energy, as if you stand at an angle.
Always start light. Heavy lines trap you if changes come. Test your setup by imagining a hallway stretching back. All side lines head to that dot. For more on basics, check this simple step-by-step guide.
Build a Realistic Room or Hallway in Just 5 Steps
Now draw a basic interior. Keep lines faint at first. Orthogonal lines slant to the vanishing point for depth. Front shapes stay vertical and horizontal, true to real life. Follow these steps. Practice adds floor tiles or a door later, all using the same rules.
Step 1: Sketch the Front Wall as a Straight Rectangle
Start on the left side. Draw a square or rectangle. Let its top or bottom edge touch the horizon line. Keep left and right sides perfectly vertical. Top and bottom stay horizontal. Position it to fill one-third of the page. This balances the view. It crosses the horizon for a natural angle, like peeking into a room.
Size matters. Too small wastes space. Too big crowds the page. Adjust so depth has room to grow.
Step 2: Draw Orthogonal Lines from Each Corner to the Vanishing Point
From all four corners, pull faint diagonal lines to the vanishing point. Use your ruler. These orthogonals show walls receding into space. They create the depth illusion. Double-check each hits the dot exactly. Loose lines flatten your scene.
Picture train tracks narrowing. That’s your goal here. Sides pull back realistically.
Step 3: Drop a Vertical Line for the Back Wall
Choose spots along the upper and lower orthogonals. Decide room depth there. Draw one straight vertical line crossing both. This back wall closes the space. Keep it shorter than the front for proper scale. Far objects look smaller.
Test by eye. Does it feel distant? Adjust if needed.
Step 4: Connect with Horizontal Lines to Finish the Box Shape
From back vertical ends, draw horizontals to side orthogonals. Match upper for ceiling, lower for floor. Your basic 3D box forms now. Close shapes tightly. Gaps break the room.
Step back. It should pop off the page already.
Step 5: Erase Guides, Add Ceiling if Needed, and Darken Outlines
Rub out extra orthogonals with the kneaded eraser. For full ceiling view, add a horizontal above the back wall. Connect its ends to the vanishing point. Darken final lines. Make viewer-side edges thick and bold. Fade distant ones thin and light.
You did it. A solid 3D room sits there. For another room approach, see this easy room tutorial.
Level Up: Sketch a Charming House with One-Point Perspective
Mastered the room? Try an exterior house. Reuse your horizon and vanishing point. Start like the room box, but ground it below the horizon. Add a roof next. This preps you for streets or landscapes. Vary sizes for fun scenes.
Step 1: Draw the Front Base as a Rectangle Crossing the Horizon
Place a wider rectangle on the left. Bottom sits below horizon for ground level. Top crosses it slightly. Keep fronts vertical and horizontal. Make it house-sized, not too tall.
This base grounds your view. Like standing in front yard.
Step 2: Add Depth with Orthogonals and Back Wall
Connect all corners to vanishing point with ruler lines. Pick depth spots on orthogonals. Drop a vertical back line across them. Add horizontals from its ends to sides. Base cube complete.
Scale shrinks naturally now.
Step 3: Build the Roof with a Front Triangle and Slanting Edge
Above front, draw a triangle peak. Keep base horizontal. From peak tip, draw one orthogonal to vanishing point. This slants the roof edge back.
Roofs angle like this in real life. Simple triangle sells it.
Step 4: Complete Roof Sides and Add Fun Details like Chimney
Draw horizontals from roof ends to orthogonals. Close both sides. Add a chimney as a small box on roof. Its back edges go to vanishing point too.
Details build charm. Windows stay front-true.
Step 5: Clean Up and Vary Line Weights for Depth
Erase guides softly. Thicken front lines bold. Thin far ones faint. Add straight door and windows upfront. Side details slant to point.
Your house stands proud. Try this house perspective lesson for extras.
Key Tips for Pro Results and Blunders to Skip
Pros swear by faint starts. Check every orthogonal hits the vanishing point. Use a string trick if ruler slips. Objects above horizon show bottoms, like looking up. Below reveals tops, eye down. At horizon, just sides appear.
Vary weights always. Thick near, light far mimics reality. No shading needed yet. Practice on grid paper first. Details like windows follow rules. Roads converge. People shrink backward.
Start with Faint Lines and Check Angles to the Vanishing Point
Light sketches let you fix freely. Ruler verifies paths. Confidence grows quick.
Position Objects Right Relative to the Horizon Line
Wrong spot warps views. Above means undersides. Below shows tops. Match your imagined stance.
Make Far Lines Thinner and Lighter for Real Depth
Bold fronts grab eyes. Fading backs pull distance in. Natural without extras.
Never Slant Front Faces or Ignore VP on Details
Fronts plumb true. Slants flatten. Fix roads by converging. People edges to point too.
Avoid Off Horizon Lines that Warp the Scene
Eye level guides all. Too high feels giant. Test mentally.
In 2026, folks blend this with apps for practice, but pencils build core skills.
Ready to Make Your Drawings Pop?
You gathered supplies, set up right, drew a room and house step by step. Tips keep errors out. Practice daily turns simple boxes into pro scenes.
Try a street of buildings next, all boxes to one point. Or tiled floors repeating back. Even twisted signs converge. It starts basic, but pros emerge fast.
Grab that pencil now. Sketch a room today. Share yours in comments or online. Your art will surprise everyone. Keep drawing.